
24 Packaging Labels on Two Sheets
Balancing sheet edge margins, weeding efficiency, and blade path economy when distributing 24 identical product packaging labels across two standard sheets.
Live Layout Evaluation Engine
24 Packaging Labels on Two Sheets
Pieces: 24 labels, 48 × 30 mm each. Material boundary: two 210 × 297 mm sheets. Spacing: at least 6 mm. Edge margin: 10 mm. Orientation: upright for grouped and repeat layouts; plain labels may rotate when density is the goal.
What should move, rotate, group, or repeat before the cut begins?
Drag a paper token, or focus it and use arrow keys. The material boundary and minimum spacing stay enforced. Each option keeps the same 24 pieces; compare handling as well as unused space.
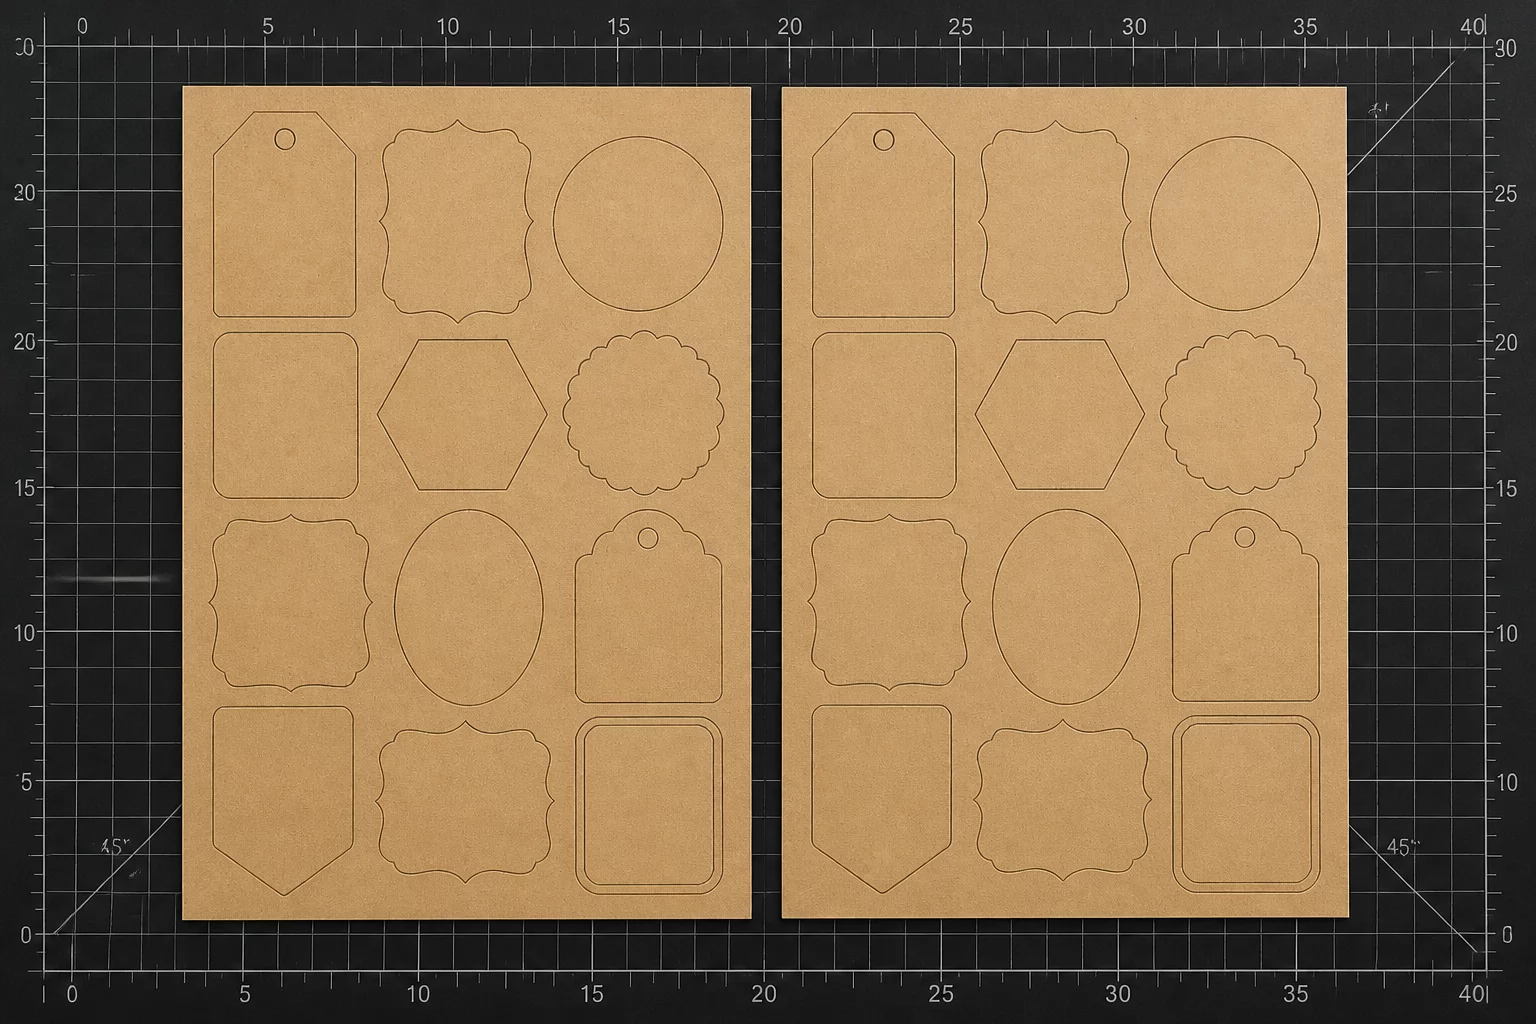
01 Sheet Boundary Setup and Label Geometry Analysis
Arranging 24 rectangular labels across two standard sheets requires establishing precise perimeter margins before placing individual shapes. Standard plotter tracking rollers need adequate grip space on sheet edges to prevent paper shift during rapid cuts. Setting a uniform 3.5 mm boundary around each label while reserving 8 mm leader margins guarantees stable feeding without risking blade collision at sheet boundaries.
Label dimensions dictate whether a uniform 3x4 grid per sheet outperforms an alternating interlocking layout. When label height exceeds width by more than forty percent, vertical alignment on sheet one combined with horizontal rotation on sheet two often creates unwanted grain variation. Maintaining identical orientation across both sheets preserves visual coating consistency across the entire packaging run.
Keep all 24 labels aligned along the same material feed axis. Rotating individual rows may save marginal millimetres on paper, but it introduces noticeable reflection and grain discrepancies when applied to glossy cylindrical packaging.
Streamline Multi-Sheet Cutting in Silhouette Studio
Learn how to configure registration marks, automated spacing buffers, and multi-page job queues for repetitive label production runs without material shift.
02 Evaluating the Three Layout Strategies
Option A relies on a symmetrical 3x4 grid per sheet, producing 12 labels per sheet with generous 5 mm gutters. This arrangement maximizes weeding speed because continuous straight cuts separate the rows cleanly. Compare placement, material direction, spacing, and post-cut handling using your actual pieces and sheet boundary.
Option B introduces paired columns with shared cut paths, compressing gutter space to 3.5 mm. This configuration frees up a 45 mm scrap band along the sheet bottom, which can be saved for test cuts or small barcode tags. Compare placement, material direction, spacing, and post-cut handling using your actual pieces and sheet boundary.
Tight clusters with shared cutlines create intense localized friction on adhesive vinyl backings. Maintain a minimum 2 mm separation between dense clusters to prevent adhesive bleed onto the cutting blade.
Splitting exactly 12 labels per sheet provides symmetrical machine cut times (38 seconds each) and minimizes registration drift compared to overloading sheet one with 14 pieces.
03 Practical Weeding and Application Considerations
Layout efficiency is not measured solely by raw square millimeter coverage on screen. In workshop production, operator extraction time represents real operational cost. Distributing 24 packaging labels across two sheets in a predictable grid with parallel weed lines ensures quick peel-off, fewer torn corners, and smooth transfer tape application.
For high-speed production, implement Option B with 12 identical labels per sheet, uniform 3.5 mm margins, and shared horizontal cut lines. Compare placement, material direction, spacing, and post-cut handling using your actual pieces and sheet boundary.
Workshop Feedback & Results
Option B saved me so much time in post-processing.
Leave Your Workshop Result