Grouping vs. Compound Paths: Avoiding Nesting Traps
Many plotter operators confuse the Group command (Ctrl+G) with Make Compound Path (Ctrl+E). Grouping bundles multiple independent vector objects together into a single manageable unit while keeping their internal paths geometrically separate. In contrast, a compound path tells Silhouette Studio that overlapping closed shapes belong to the same single shape entity—creating holes, knockouts, and unified cut perimeters.
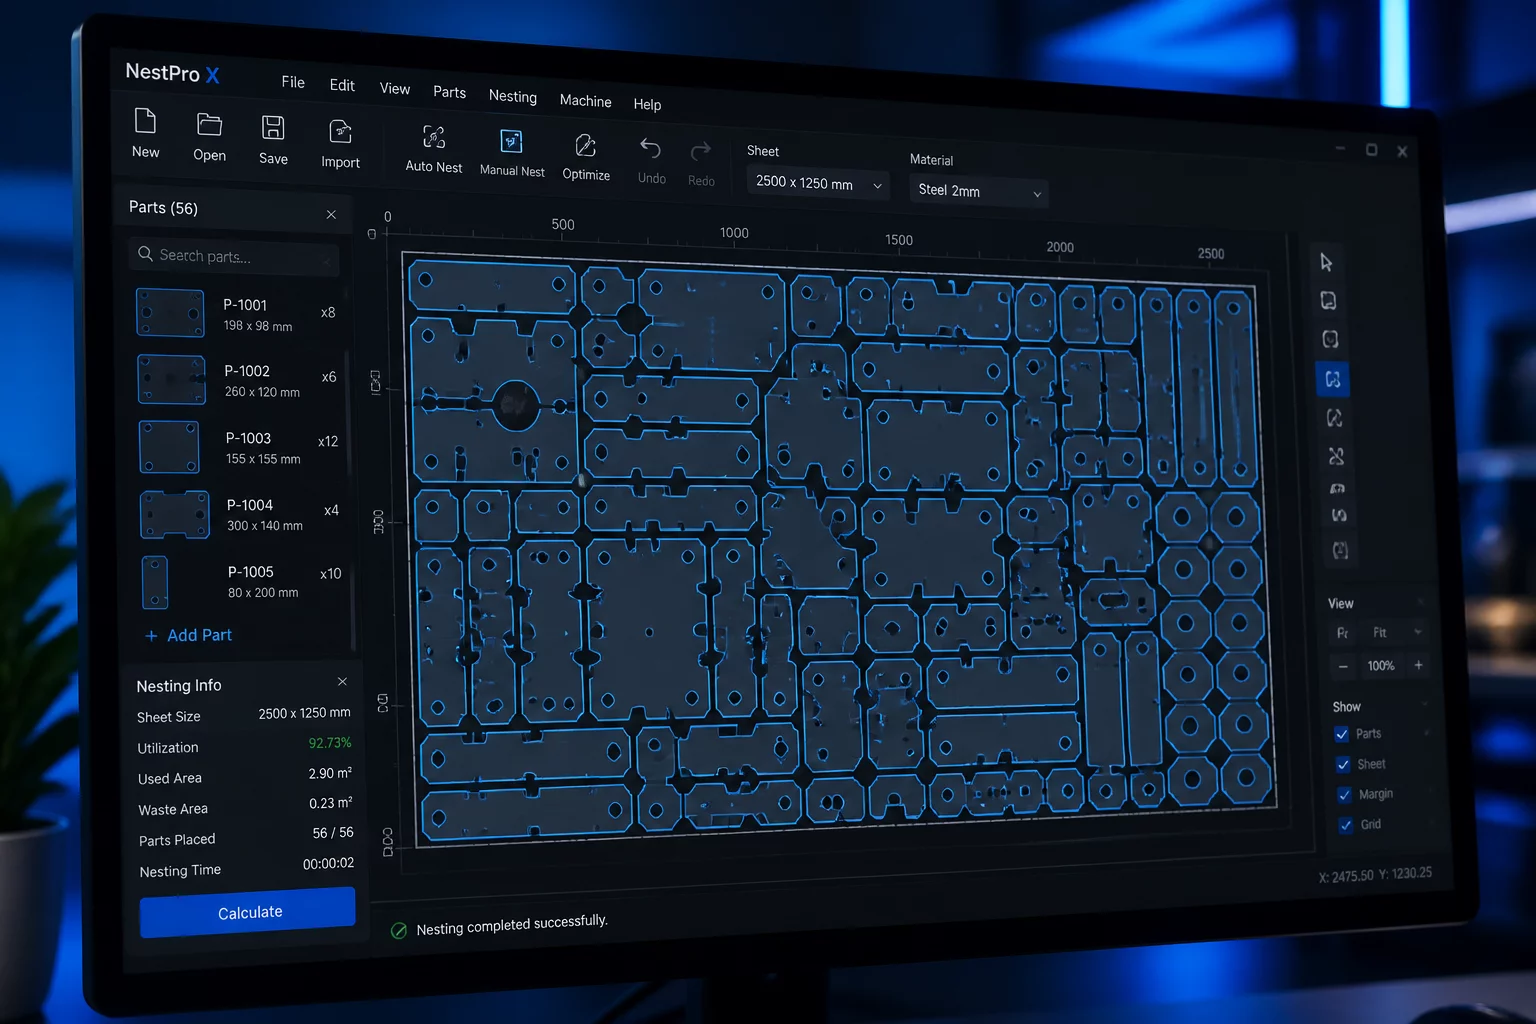
When you prepare designs for nesting and automated sheet yield optimization, grouping preserves your internal nested spacing while treating the grouped boundary as a solid bounding block. If you accidentally convert separate components into a compound path before nesting, software algorithms cannot shift inner parts independently to fill negative material voids.
Nesting Rule of Thumb
Group elements only when their relative physical spacing must stay rigid (such as registered multi-color decal sets). Keep independent filler shapes ungrouped so automated nesting can slide them into unused sheet gaps.
Organizing Layers for Multi-Material & Action Cuts
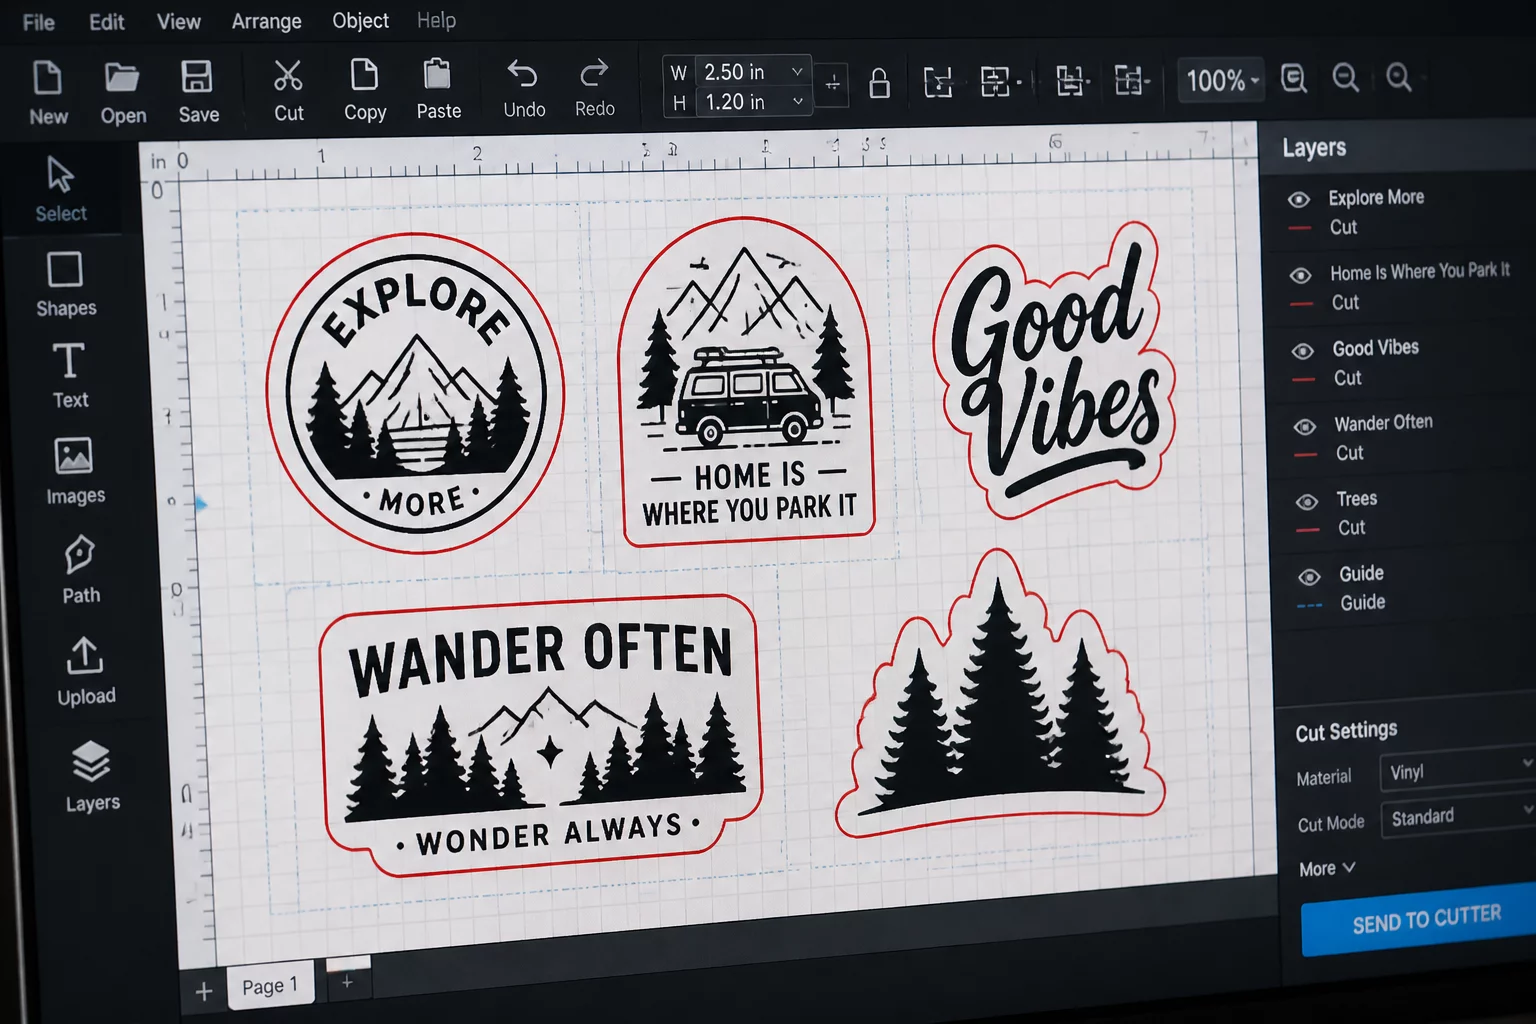
The Layers panel in Silhouette Studio functions as your command center for complex cut sequences. Instead of sending an entire crowded mat to cut with a single global setting, separating artwork into distinct layers enables granular execution control through the Send panel's Layer or Line/Fill action tabs.
- Assign specific blade depth, speed, and force settings per individual layer or stroke color.
- Sequence score lines, perforation cuts, and outer perimeter cuts in a single automated mat pass.
- Toggle visibility on reference guides, alignment marks, and grain indicators without affecting physical cut lines.
Organizing your cut paths by line color allows you to perform kiss cuts and die cuts on the same carrier sheet. For instance, assign blue lines for kiss-cut sticker perimeters (low force) and red lines for full backing punch-through (high force, lower speed), executing them seamlessly in descending layer order.
Caution with Hidden Layer Bounding Boxes
Hidden or locked layers with invisible vectors can still expand the active sheet bounding calculation in certain export routines. Always verify that inactive background sketches are placed outside the active cutting boundary or deleted before running production runs.
Preventing Boundary Creep and Alignment Distortion
As projects grow in complexity, nested groups often develop invisible bounding box bloat caused by stray anchor points, zero-width transparent strokes, or nested sub-groups. This "boundary creep" forces Silhouette Studio to allocate excessive spacing around your parts, drastically reducing material yield across your stock.
Periodically inspect your design tree using the Object List panel. Flatten unnecessary sub-groups, convert stroke outlines into closed paths where applicable, and clean up duplicate points. Maintaining lean vector hierarchies guarantees tight, repeatable clearances between adjacent parts, maximizing component yield per square foot.
This could be your first comment.