Algorithmic Vector Packing Mechanics
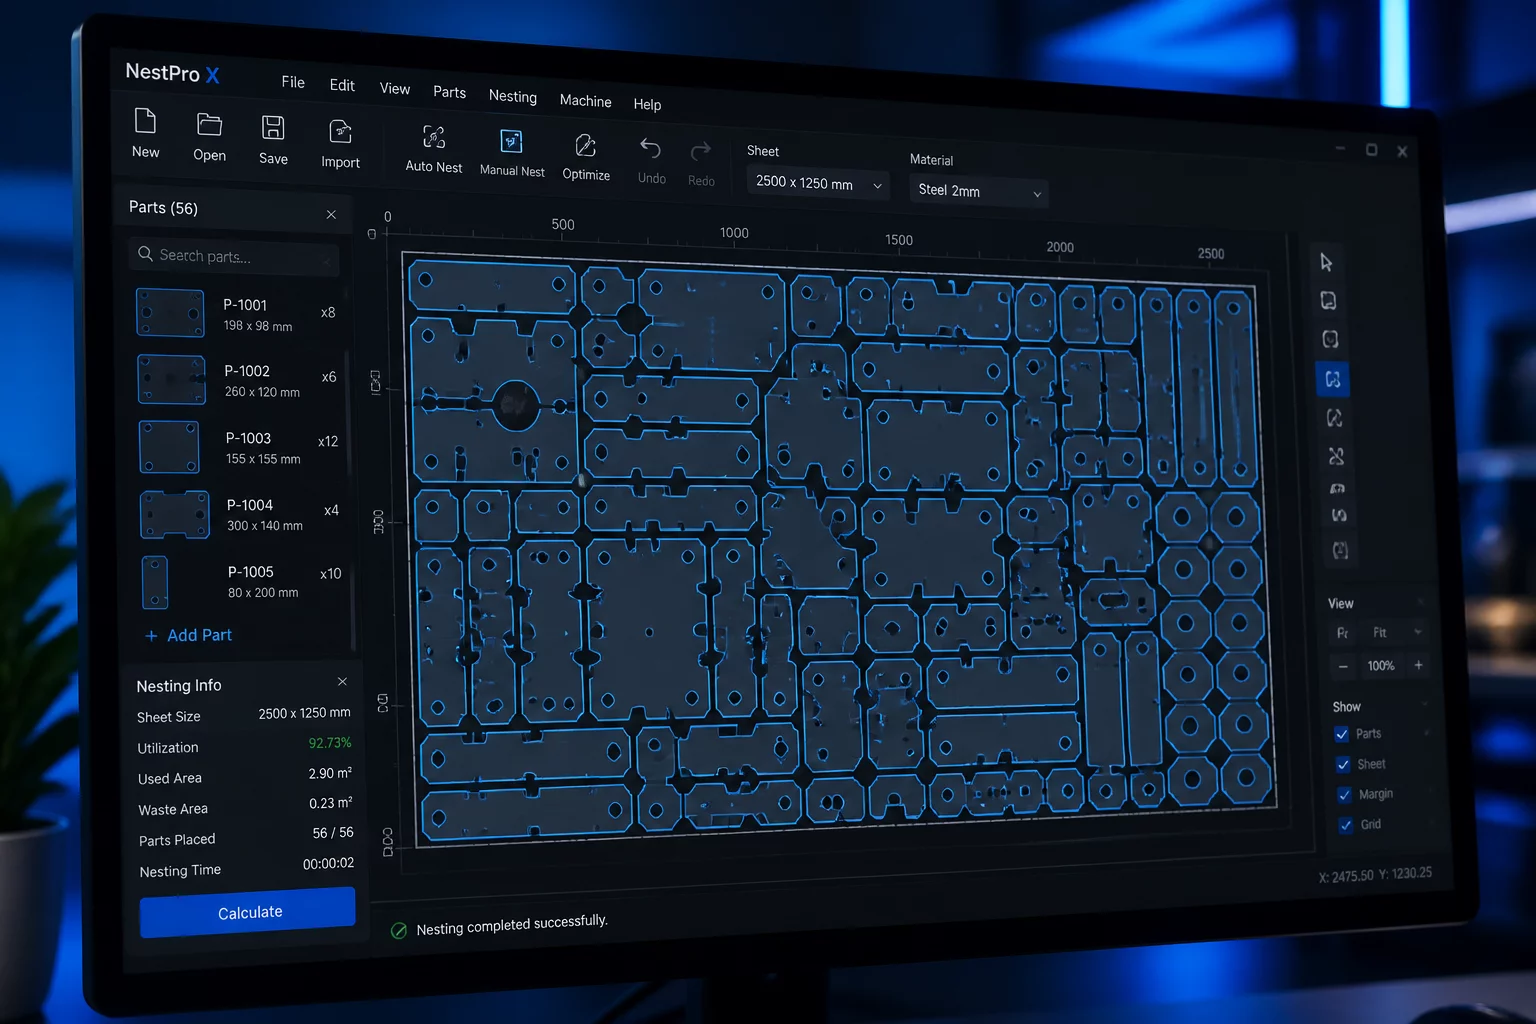
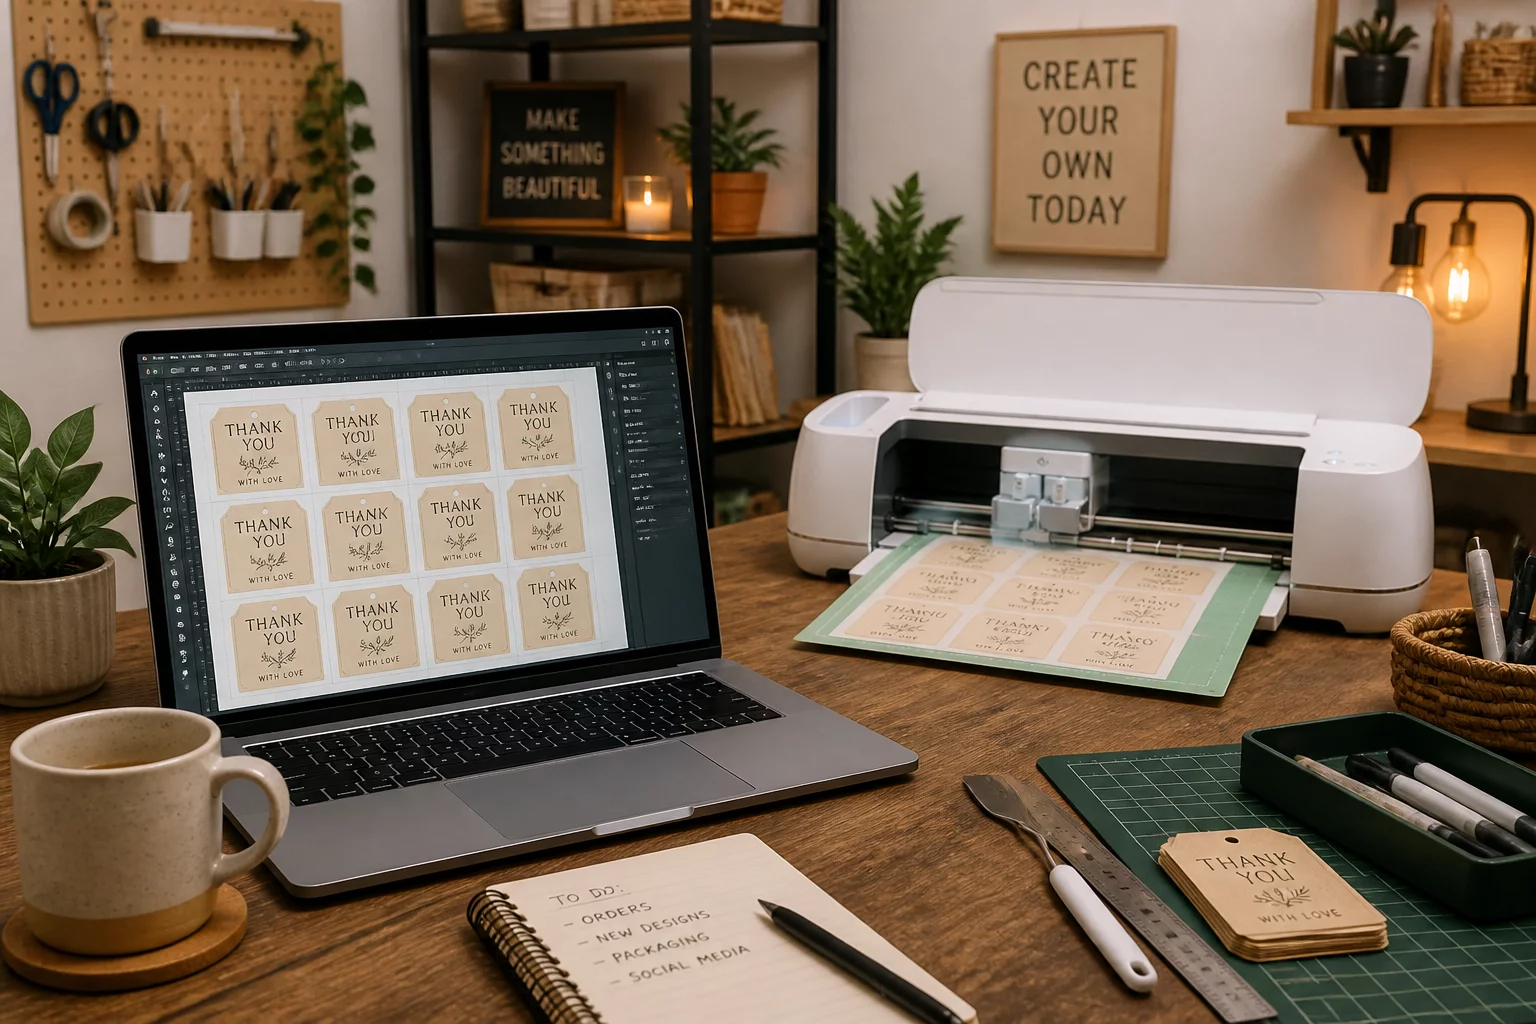
Silhouette Studio Business Edition incorporates a specialized Nesting Panel that calculates optimal shape coordinates directly on the active cutting canvas. Instead of manually shifting each polygon across the workspace, the software analyzes contour polygons, outer bounds, and concave pockets across every selected vector element. The engine continuously tests candidate locations against defined sheet boundaries, compacting irregular pieces into the smallest rectangular footprint possible.
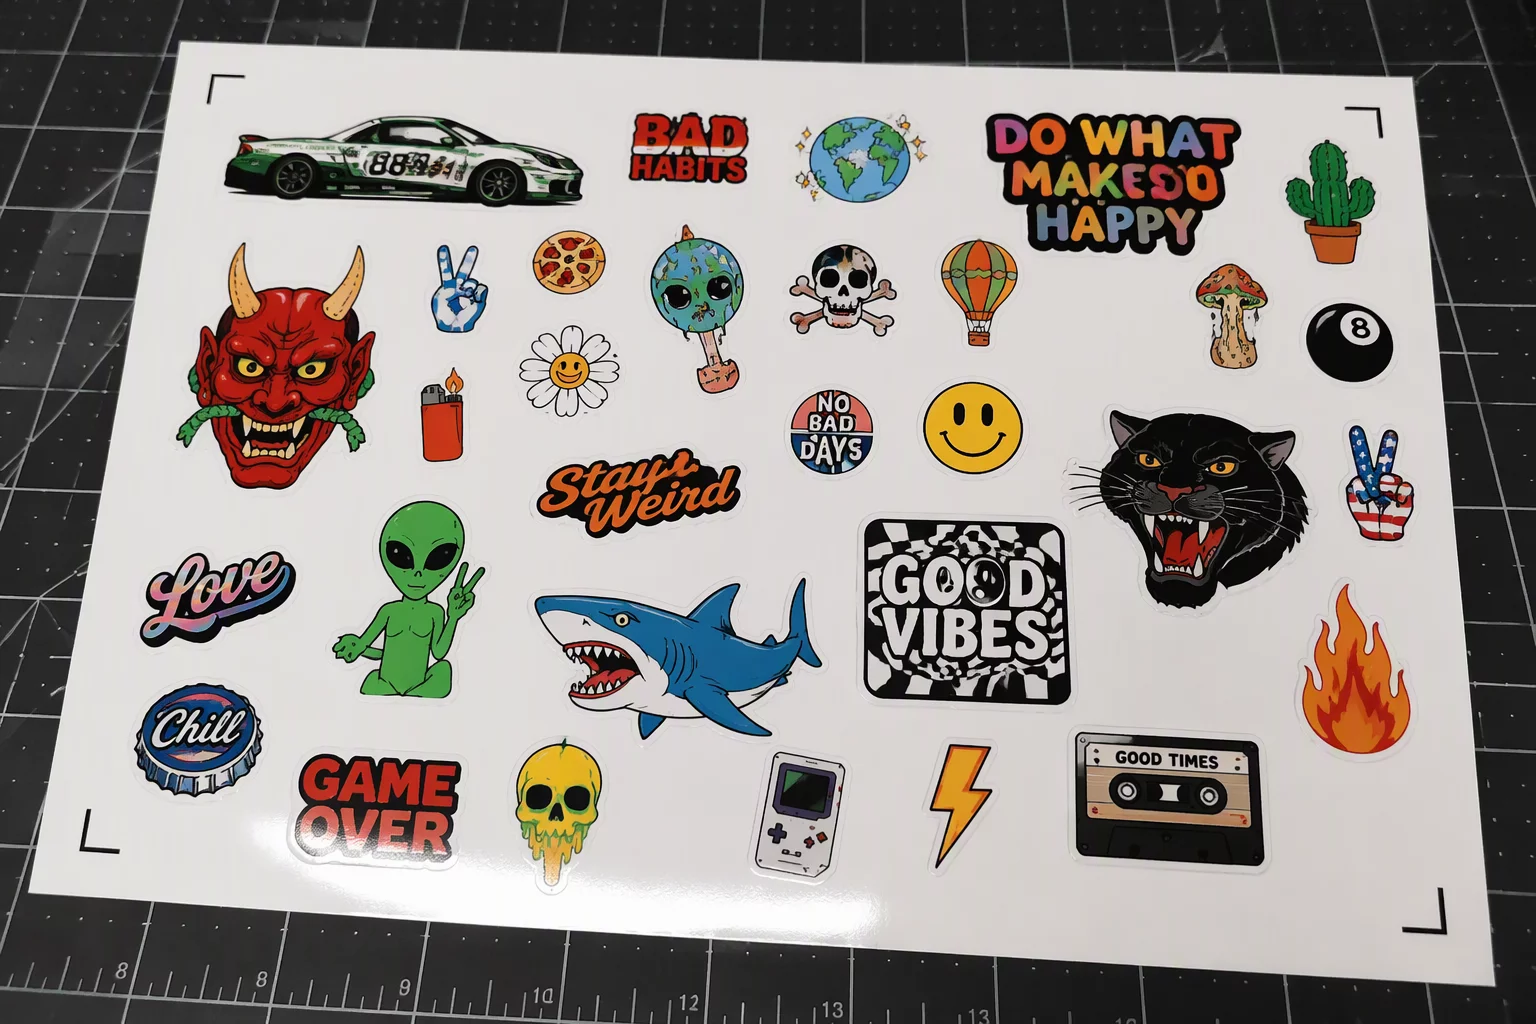
This computational approach yields major advantages during batch fabrication. When producing mixed decals, packaging tags, or heat-transfer components, human operators tend to arrange items in rigid rows. The nesting engine, by contrast, rotates elements into complementary negative spaces—fitting slender tails inside wide arches. Compare placement, material direction, spacing, and post-cut handling using your actual pieces and sheet boundary.
Compound Path Geometry Rule
The nesting engine treats un-grouped internal cutouts as independent pieces unless they form a compound path or locked group. Always group multi-layer badges before running the nest command to prevent internal lettering from drifting away from outer frames.
Padding Thresholds and Rotation Constraints
Controlling sheet density requires dialing in boundary buffers and angular freedom. The Business Edition nesting dialog contains three critical setting controls that determine how close parts sit to one another and to the sheet edges:
- Padding Buffer: Sets the strict inter-part clearance distance (typically 0.060 in – 0.125 in) to protect against blade kerf collisions.
- Boundary Offset: Enforces a safety margin from media borders to avoid cutting inside roller transport tracks or registration zones.
- Rotations Setting: Selects fixed orientation (0°), 45-degree, 90-degree, or arbitrary free angle rotation for maximum packing density.
While full free rotation delivers the lowest mathematical area usage, it poses serious hazards for directional media. Holographic films, brushed metals, and ribbed cardstocks reflect light differently when rotated at arbitrary 37-degree angles. Restricting the nesting engine to 0-degree or 90-degree increments maintains visual consistency across every assembled unit while preserving compact packing density.
Weeding Clearance Consideration
Tight nesting can leave micro-slivers of waste film that tear during high-speed manual weeding. Setting padding to at least 0.080 in (2.0 mm) ensures continuous waste webbing that lifts cleanly in a single sweep.
Production Integration and Weeding Workflow
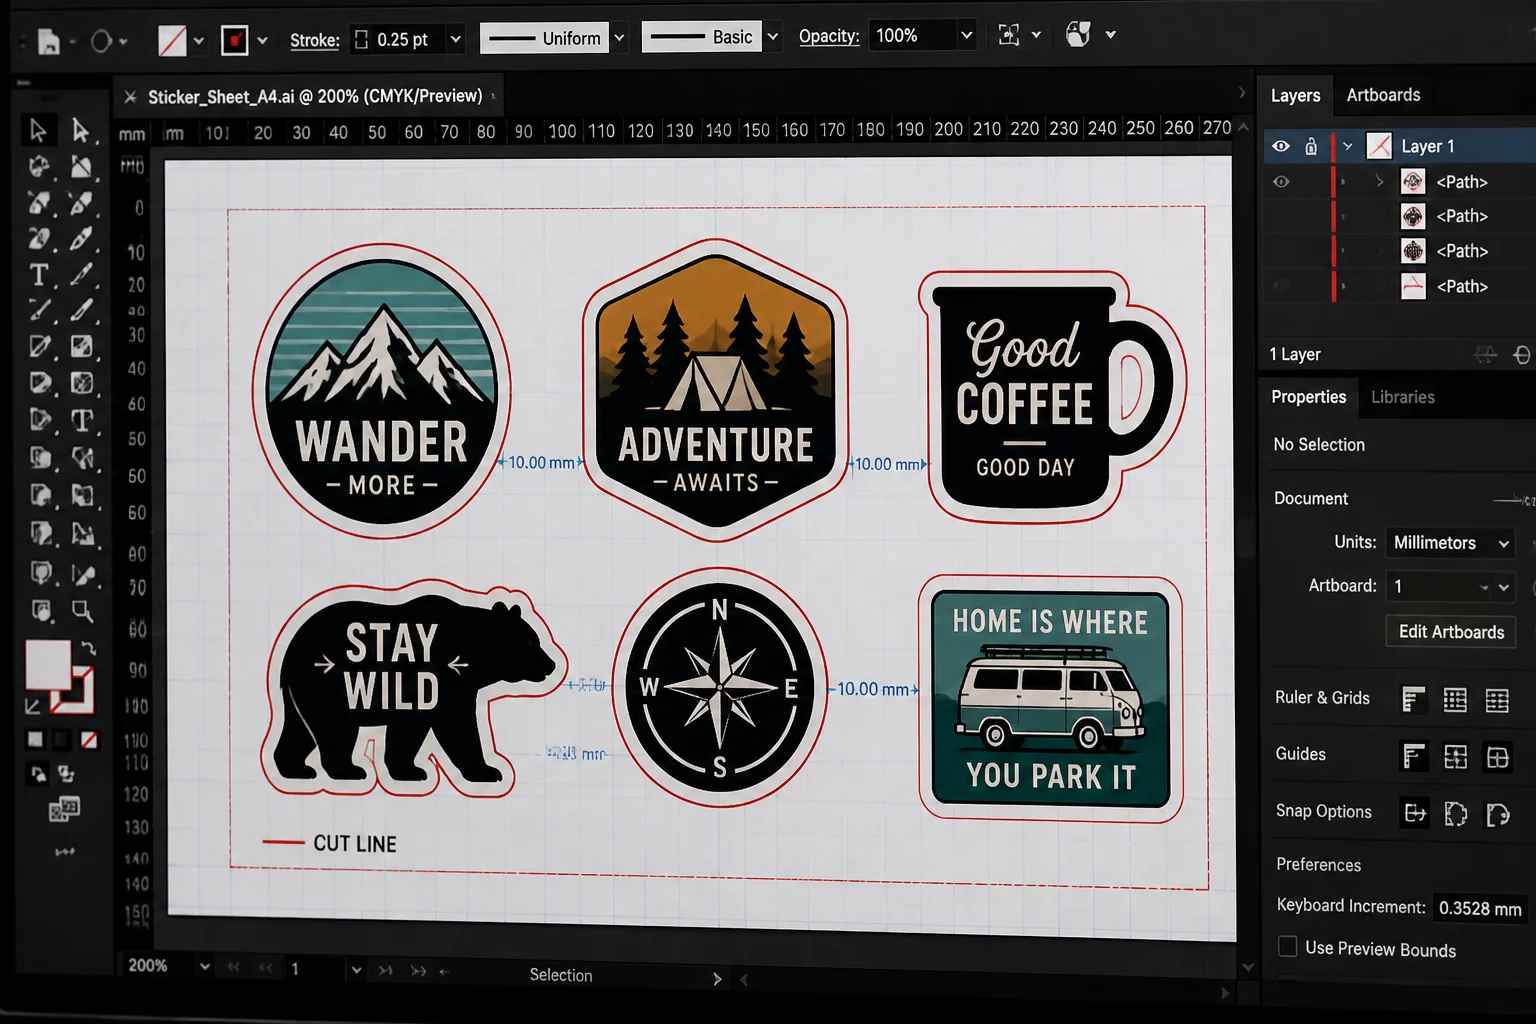
Executing an automated nest in Silhouette Studio represents an intermediate setup milestone rather than the final cut command. High-efficiency shops review the algorithmic placement before transmitting vectors to the plotter. Placing auxiliary bounding rectangles around nested clusters creates localized weeding boxes, preventing accidental tension damage when peeling background scrap away from delicate serif lettering.
Furthermore, nesting works seamlessly alongside custom media sizes. Operators can specify a remnant sheet dimension—for instance, an offcut strip measuring 4.5 by 11 inches—and instruct the algorithm to pack only the components that fit within that exact boundary. Remaining objects stay unplaced in the staging area, enabling zero-waste utilization of scrap stock before loading full-size material rolls.
Finally, clarity on what Business Edition actually does for nesting workflows and margin calculations.