1. The Anchor-and-Fill Placement Strategy
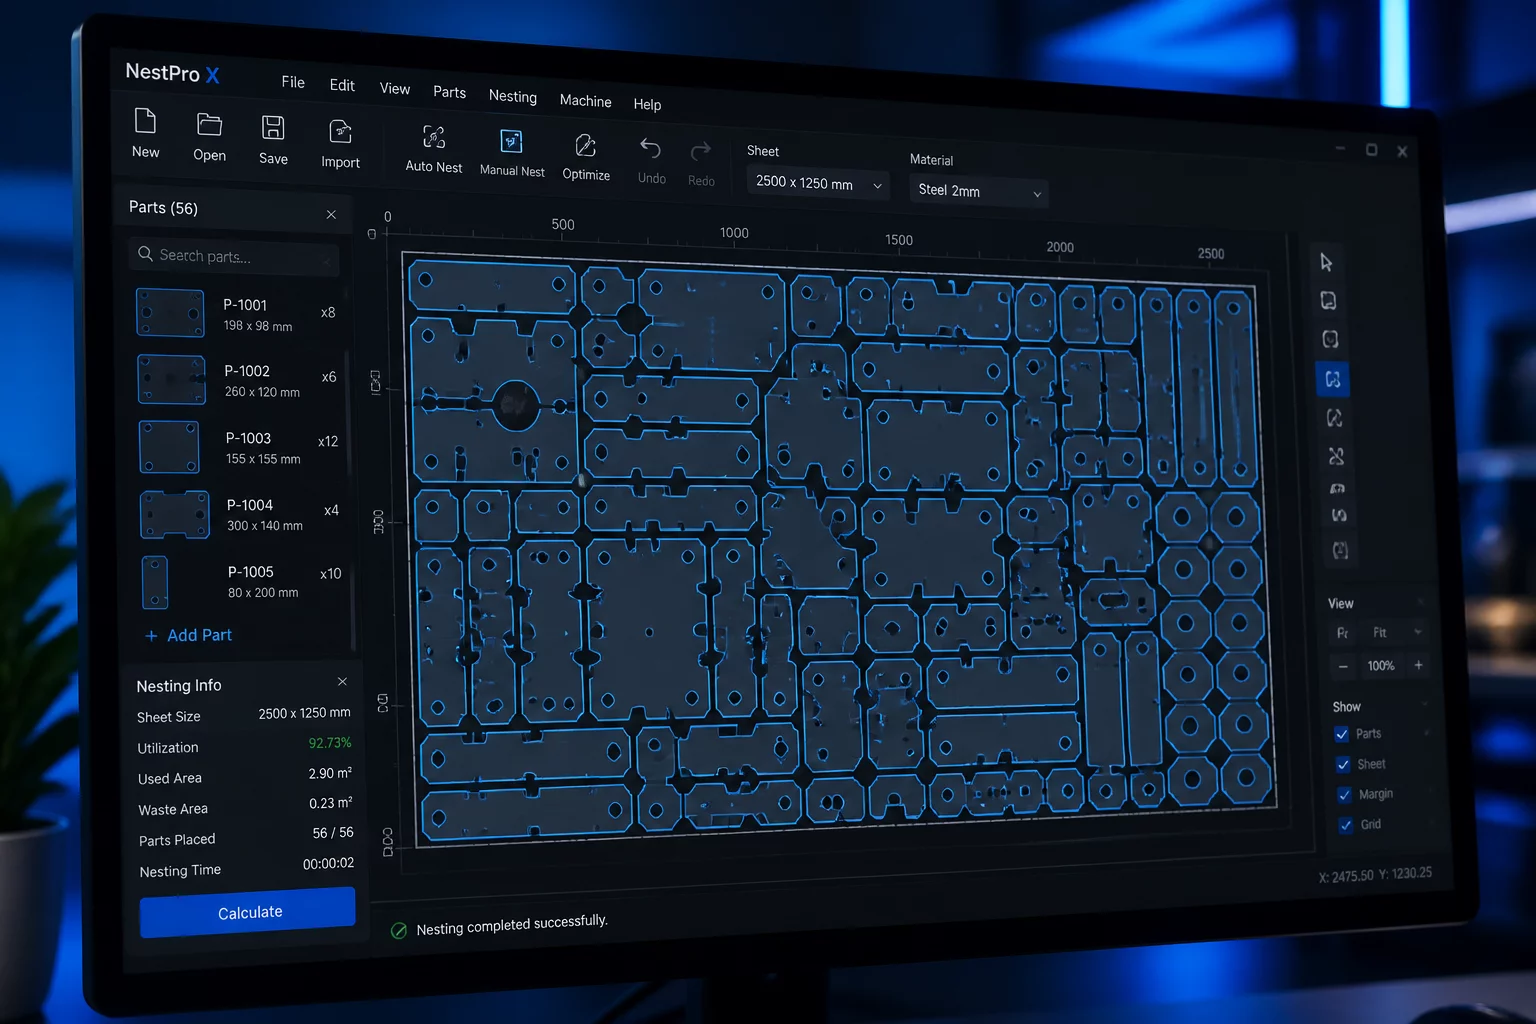
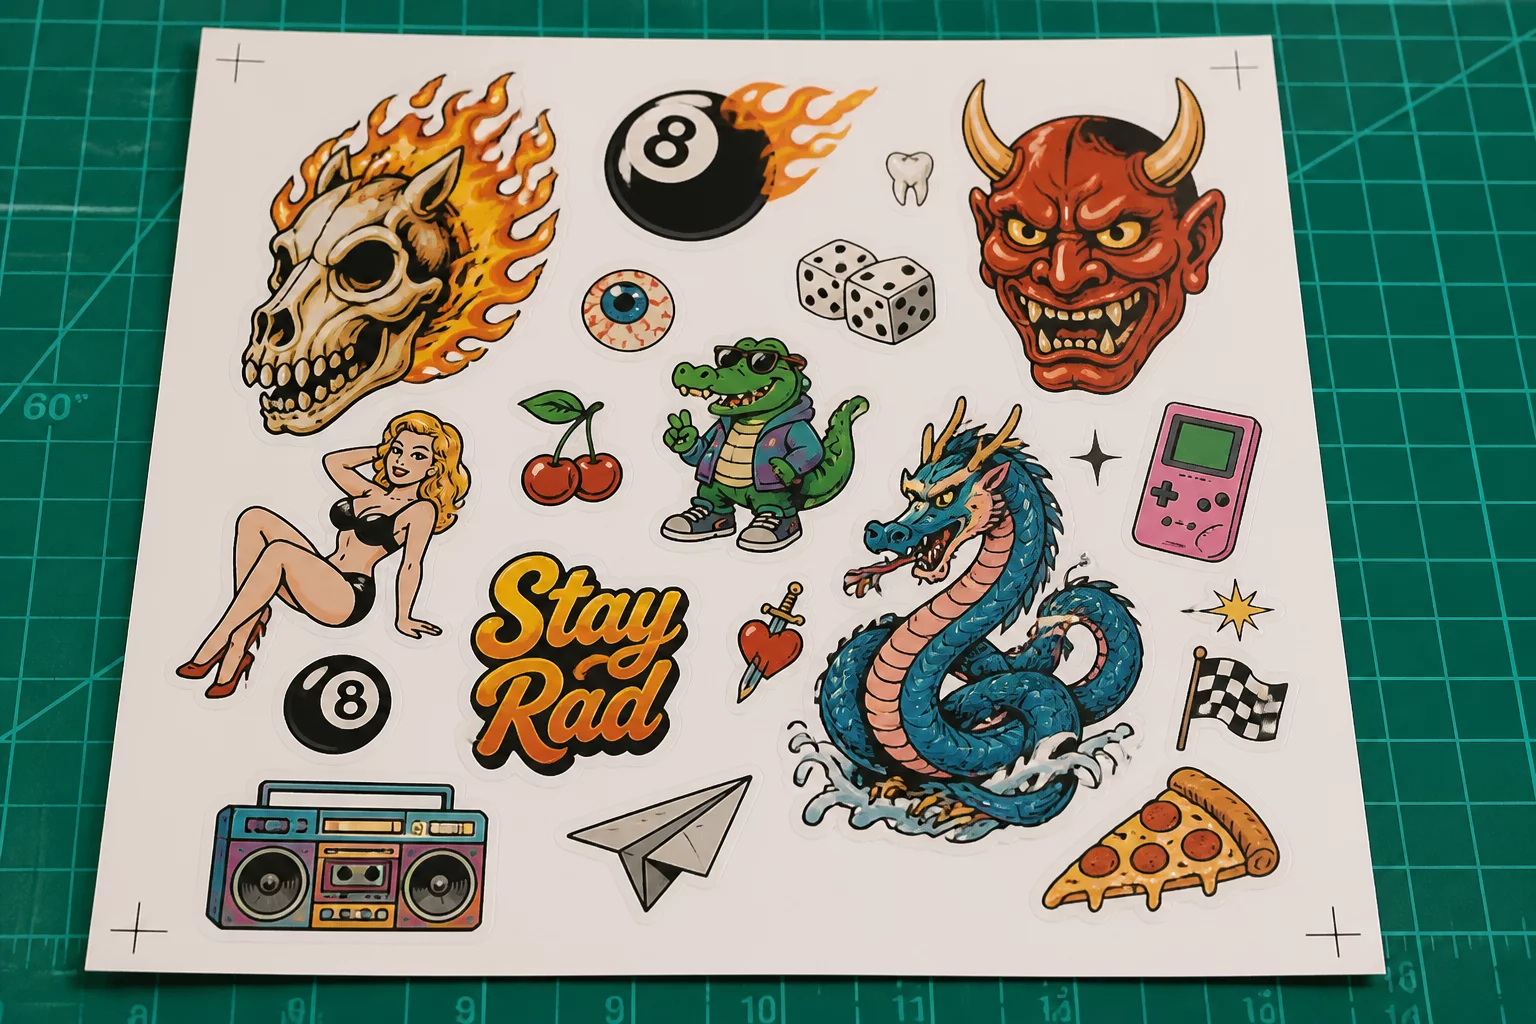
When preparing a mixed-scale sticker set or production sheet in Silhouette Studio, placing pieces at random quickly leads to stranded negative space that cannot fit additional components. Starting with the largest items—termed anchor components—creates a structured perimeter. You position these main graphics against the top and side boundary limits, leaving predictable geometric pockets across the remainder of the page.
Once the anchor shapes are positioned, secondary and tertiary components slot into the remaining negative space. In Silhouette Studio, you can drag smaller circular or star-shaped elements into the concave notches of irregular illustrations. Compare placement, material direction, spacing, and post-cut handling using your actual pieces and sheet boundary.
Pro Tip: Use Bounding Box Rotation
Select smaller accent pieces and rotate them in 15-degree increments using the Quick Transform palette. Interlocking odd angles lets you squeeze up to 6 extra small components between major design boundaries.
2. Managing Optical Sensor and Margin Zones
The most frequent pitfall during Print Then Cut operations is encroaching upon the registration mark reading channels. Silhouette optical sensors scan three specific quadrants on the sheet. Any printed color, gradient bleed, or cut line located inside the hatched areas can distort sensor calibration, resulting in optical registration failure or offset cuts.
- Set Registration Mark Inset to 0.5 inches or higher to protect machine feed rollers.
- Enable "Show Cut Border" and "Show Print Border" under Page Setup before arranging shapes.
- Group each graphic with its offset cut line to avoid accidental misalignment during drag-and-drop.
Maintain a minimum clearance of 0.125 inches (3.2 mm) between adjacent cut paths. When elements are packed too tightly without adequate material bridges, the blade drag during intricate turns can lift delicate vinyl edges off the backing sheet, ruining adjacent prints.
Critical Boundary Warning
Never place high-contrast print bleeds near the square black registration mark in the top-left corner. Ambient sensor reflection off metallic or glossy surfaces within this zone causes registration errors.
3. Fine-Tuning Bleeds and Cut Boundaries
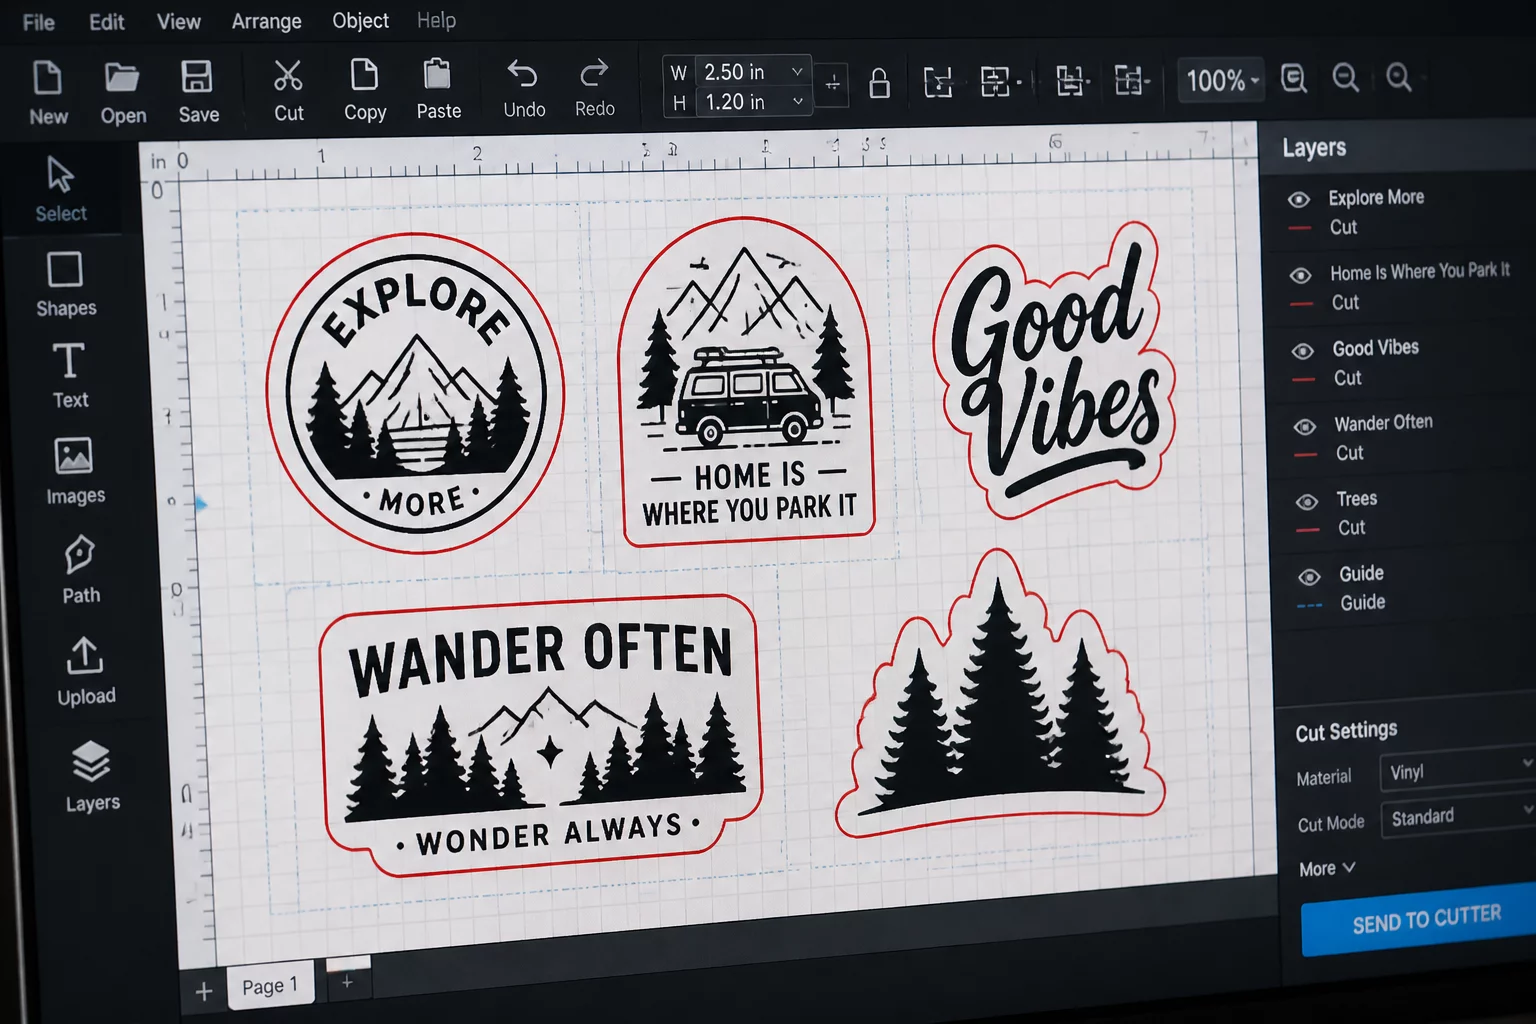
Adding a clean contour offset to every mixed-size piece guarantees professional finishing. In Silhouette Studio's Offset panel, apply an external offset of 0.060 to 0.080 inches around complex illustrations, and assign that line a contrasting cut color in the Send panel. This separates the graphic print bounds from the actual blade travel path.
For production runs with mixed materials, verify your cut line order. Program the machine to cut the smaller, intricate interior pieces first before cutting the outer perimeters of the larger shapes. This sequence keeps the media sheet flat and tensioned on the cutting mat throughout the job, preventing slippage and inaccurate cuts.